RelayMe gathers everything you make — music, shop, socials, newsletter — onto one page at a single address. You hand out one link, and you change what sits behind it whenever you like.
Here's the whole setup, from picking a name to sharing the finished page.
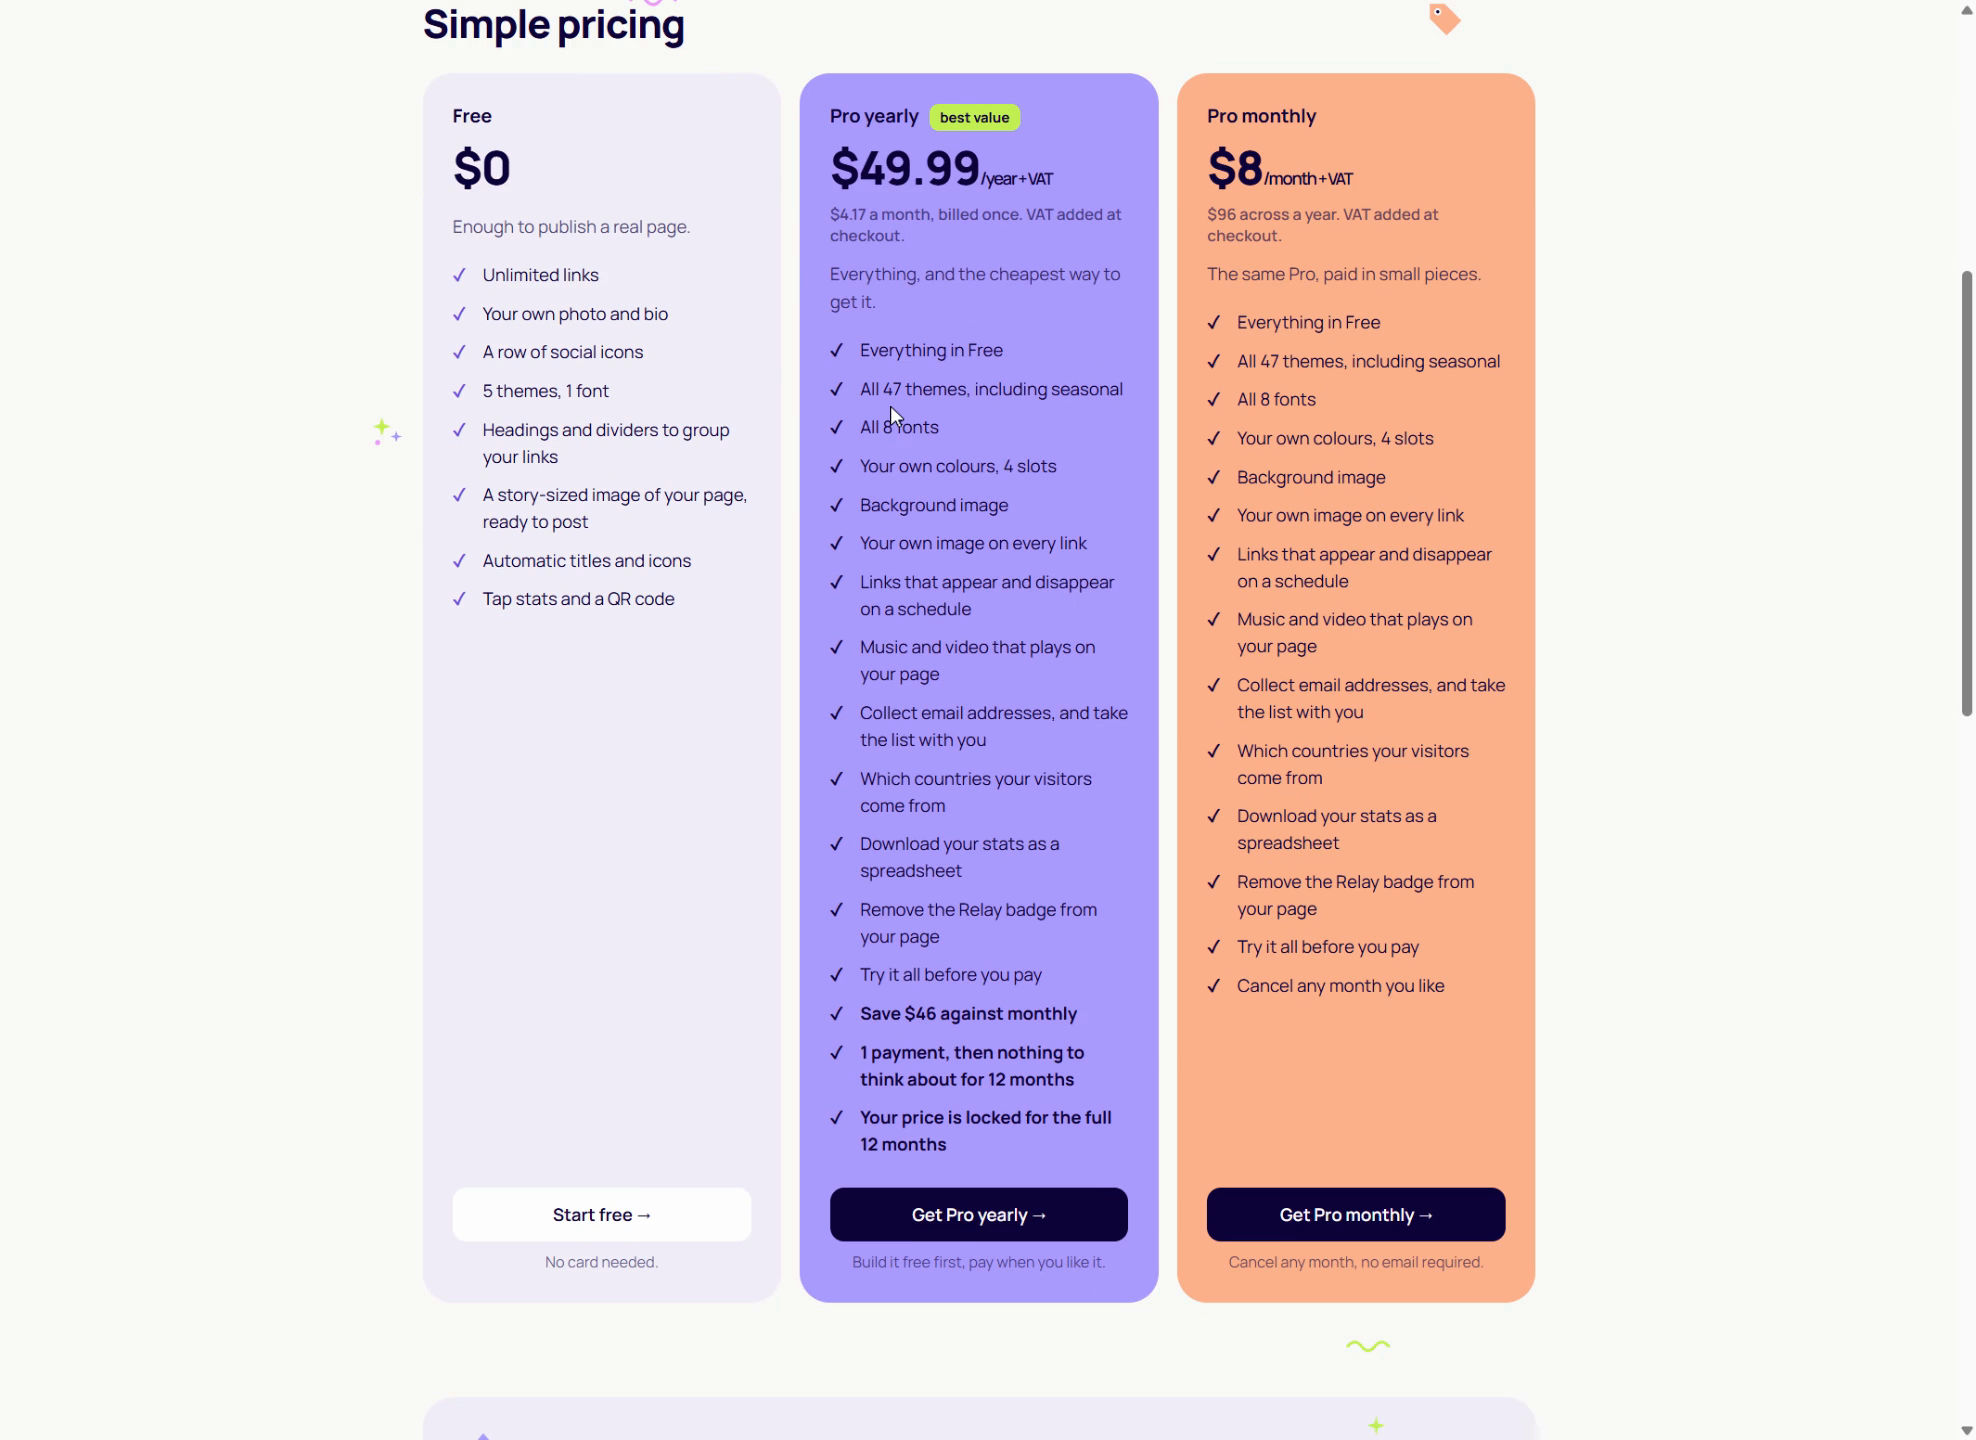
Step 1: Look at the plans first
Free, monthly, or yearly. The free plan needs no card, and you can move up later without rebuilding anything — your page and links carry over.
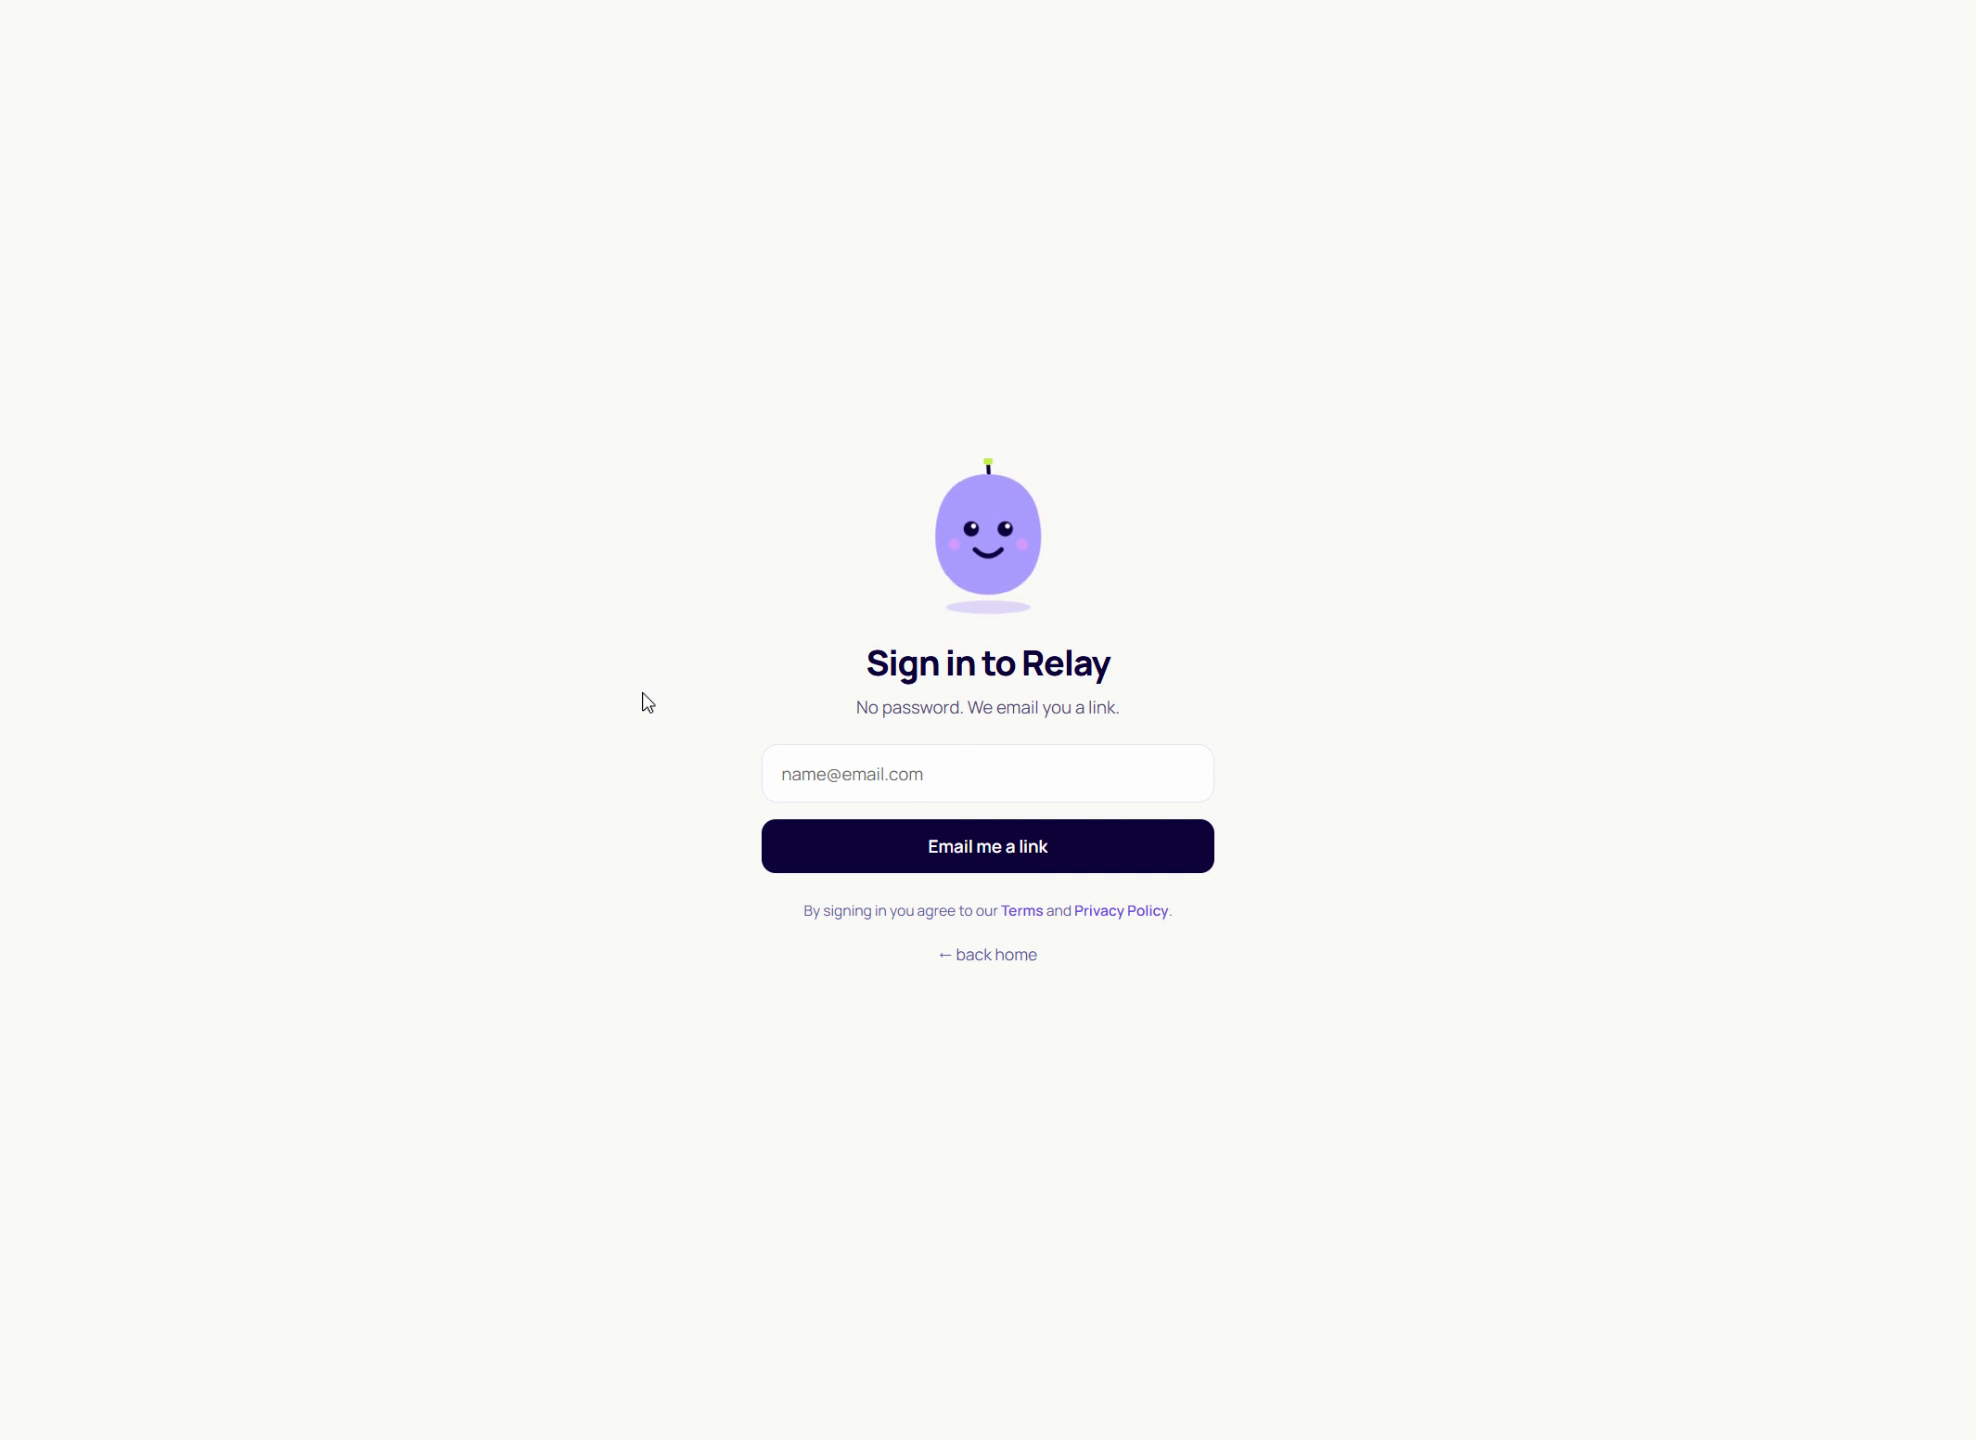
Step 2: Start free and enter your email
Pick the free plan and enter the email you want on the account. There's no password to invent.
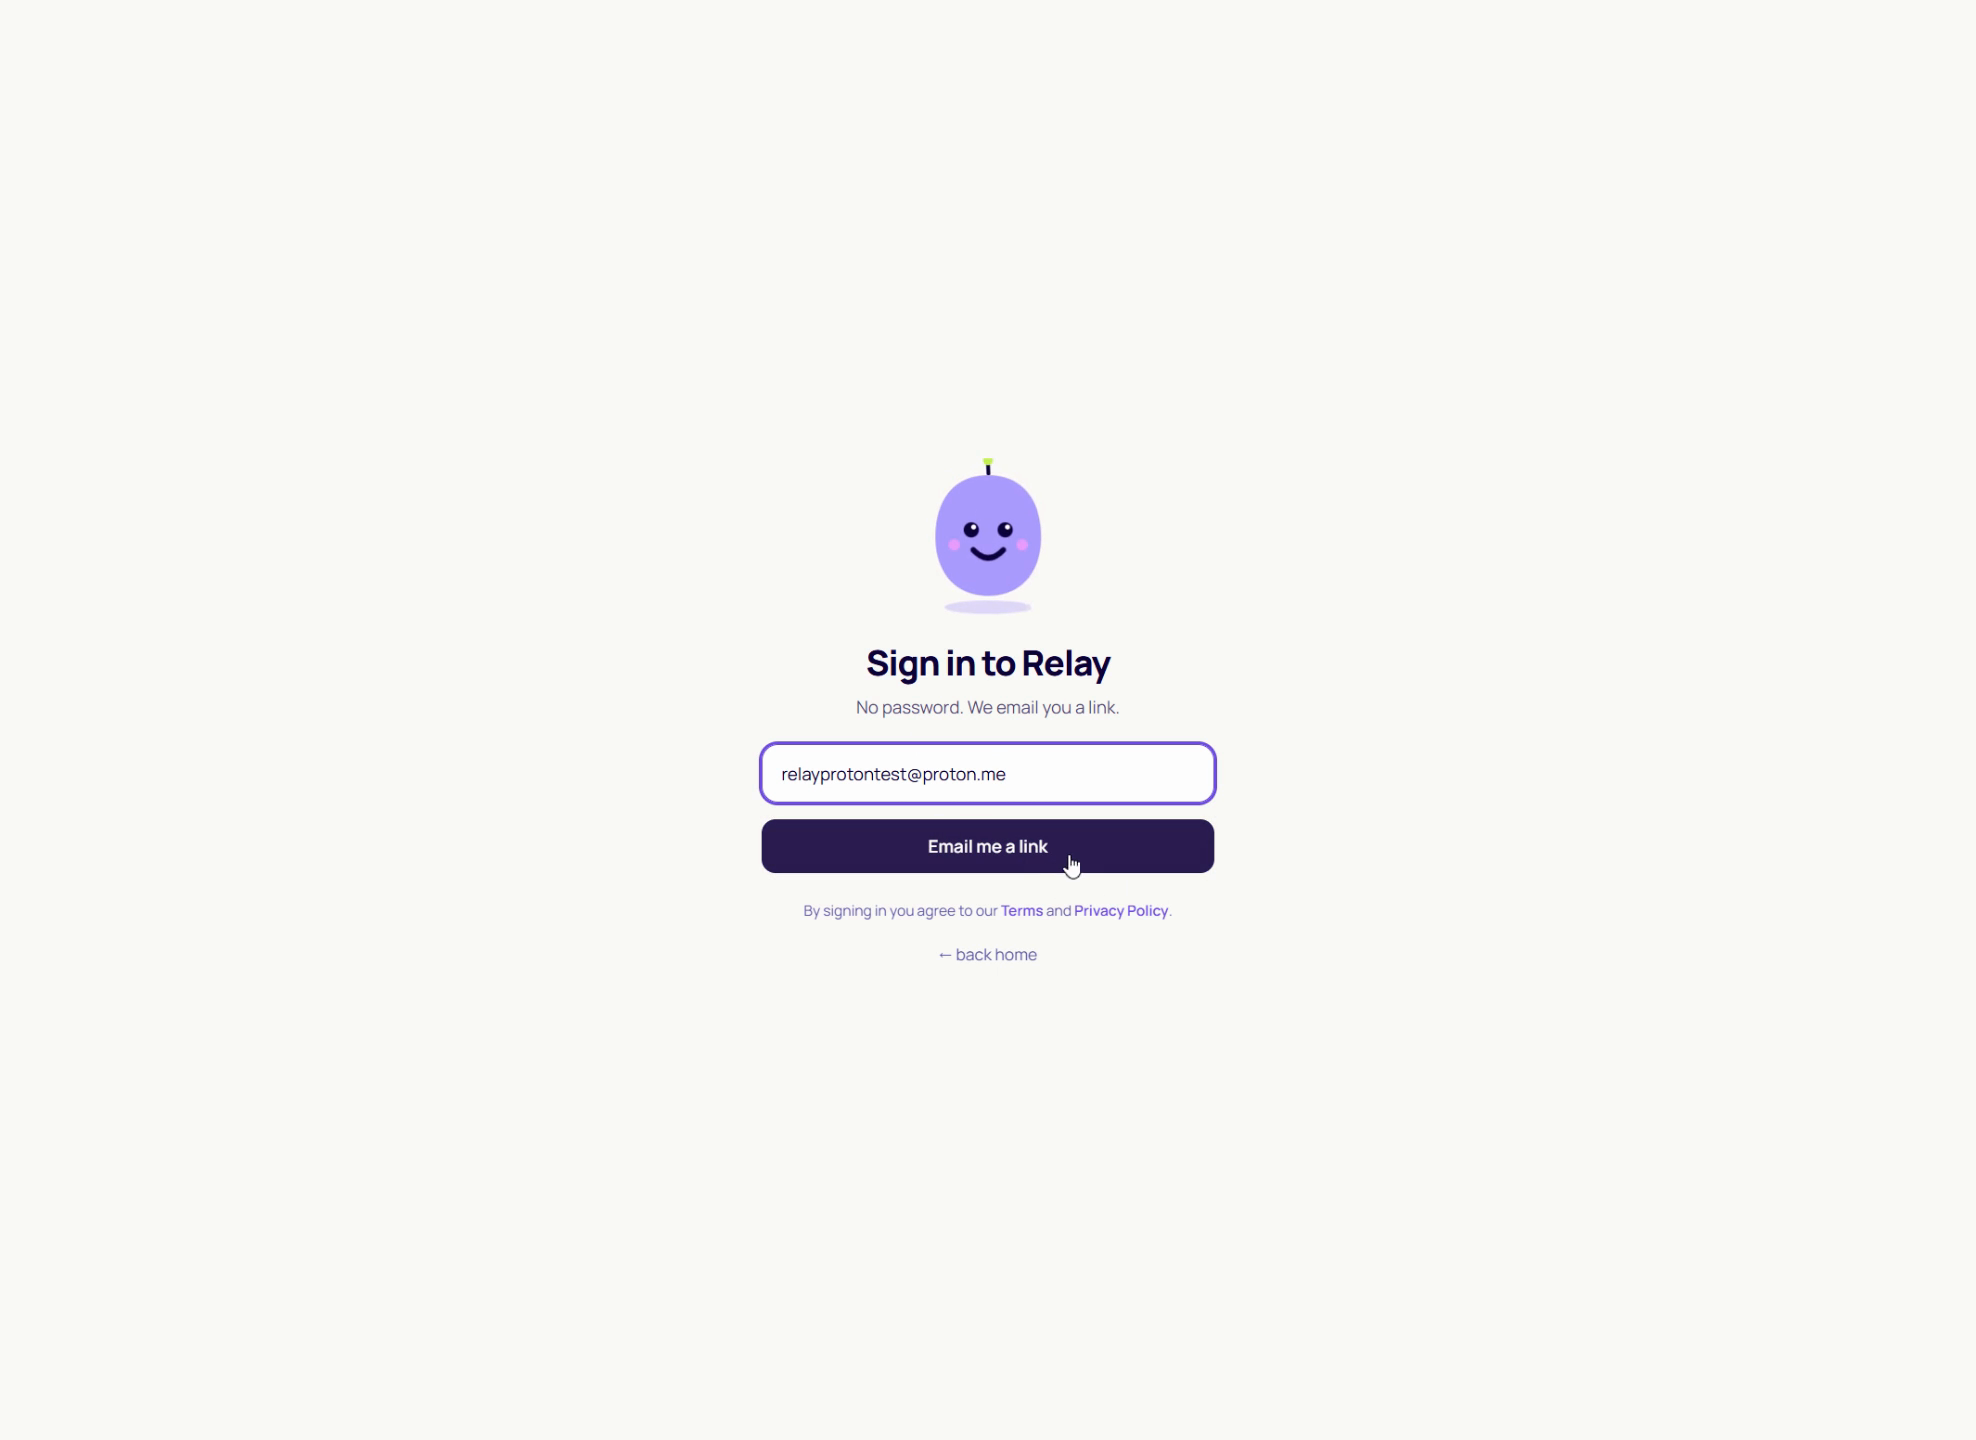
Step 3: Open the sign-in link in your email
RelayMe sends a link to that address. Clicking it confirms the email and signs you in at the same time. If it's been sitting in your inbox a while it will have expired — ask for a new one, nothing is lost.
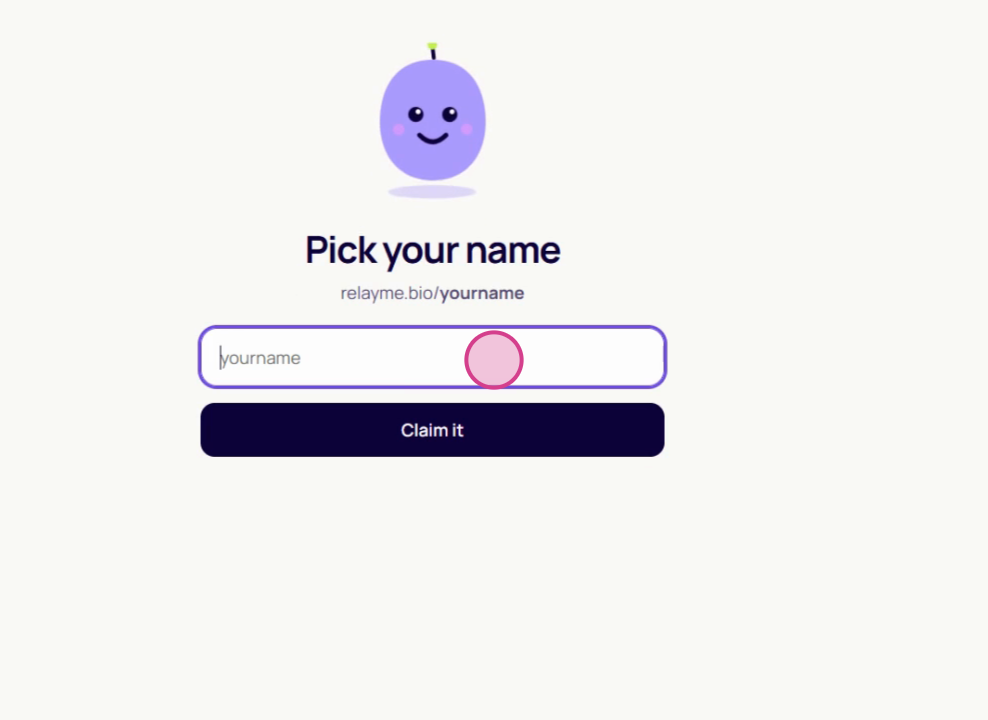
Step 4: Choose your name
This becomes your address — relayme.bio/yourname — so it's worth a moment's thought. Names are checked as you type. If yours has gone, add a word rather than a number: yourname.music reads better than yourname1994, and it's easier to say out loud.
Step 5: Land on the dashboard
The dashboard is where everything happens. The phone on the right shows your page exactly as visitors will see it, updating as you work.
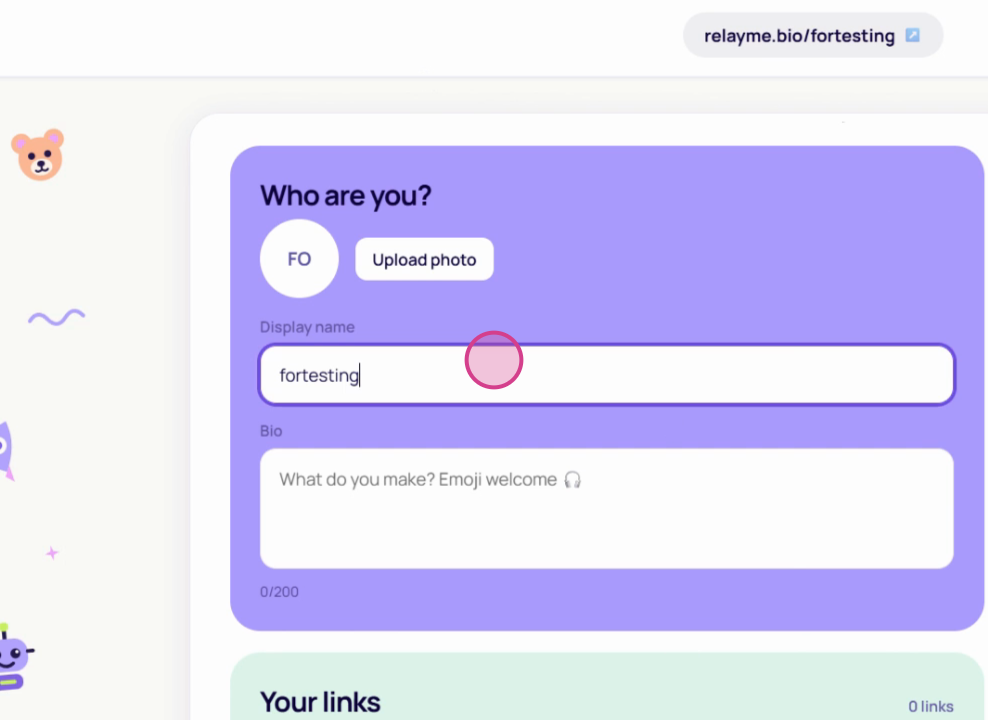
Step 6: Write your bio
Click your name to edit it, then add a short description. Emoji work here too — easiest to insert from a phone keyboard.
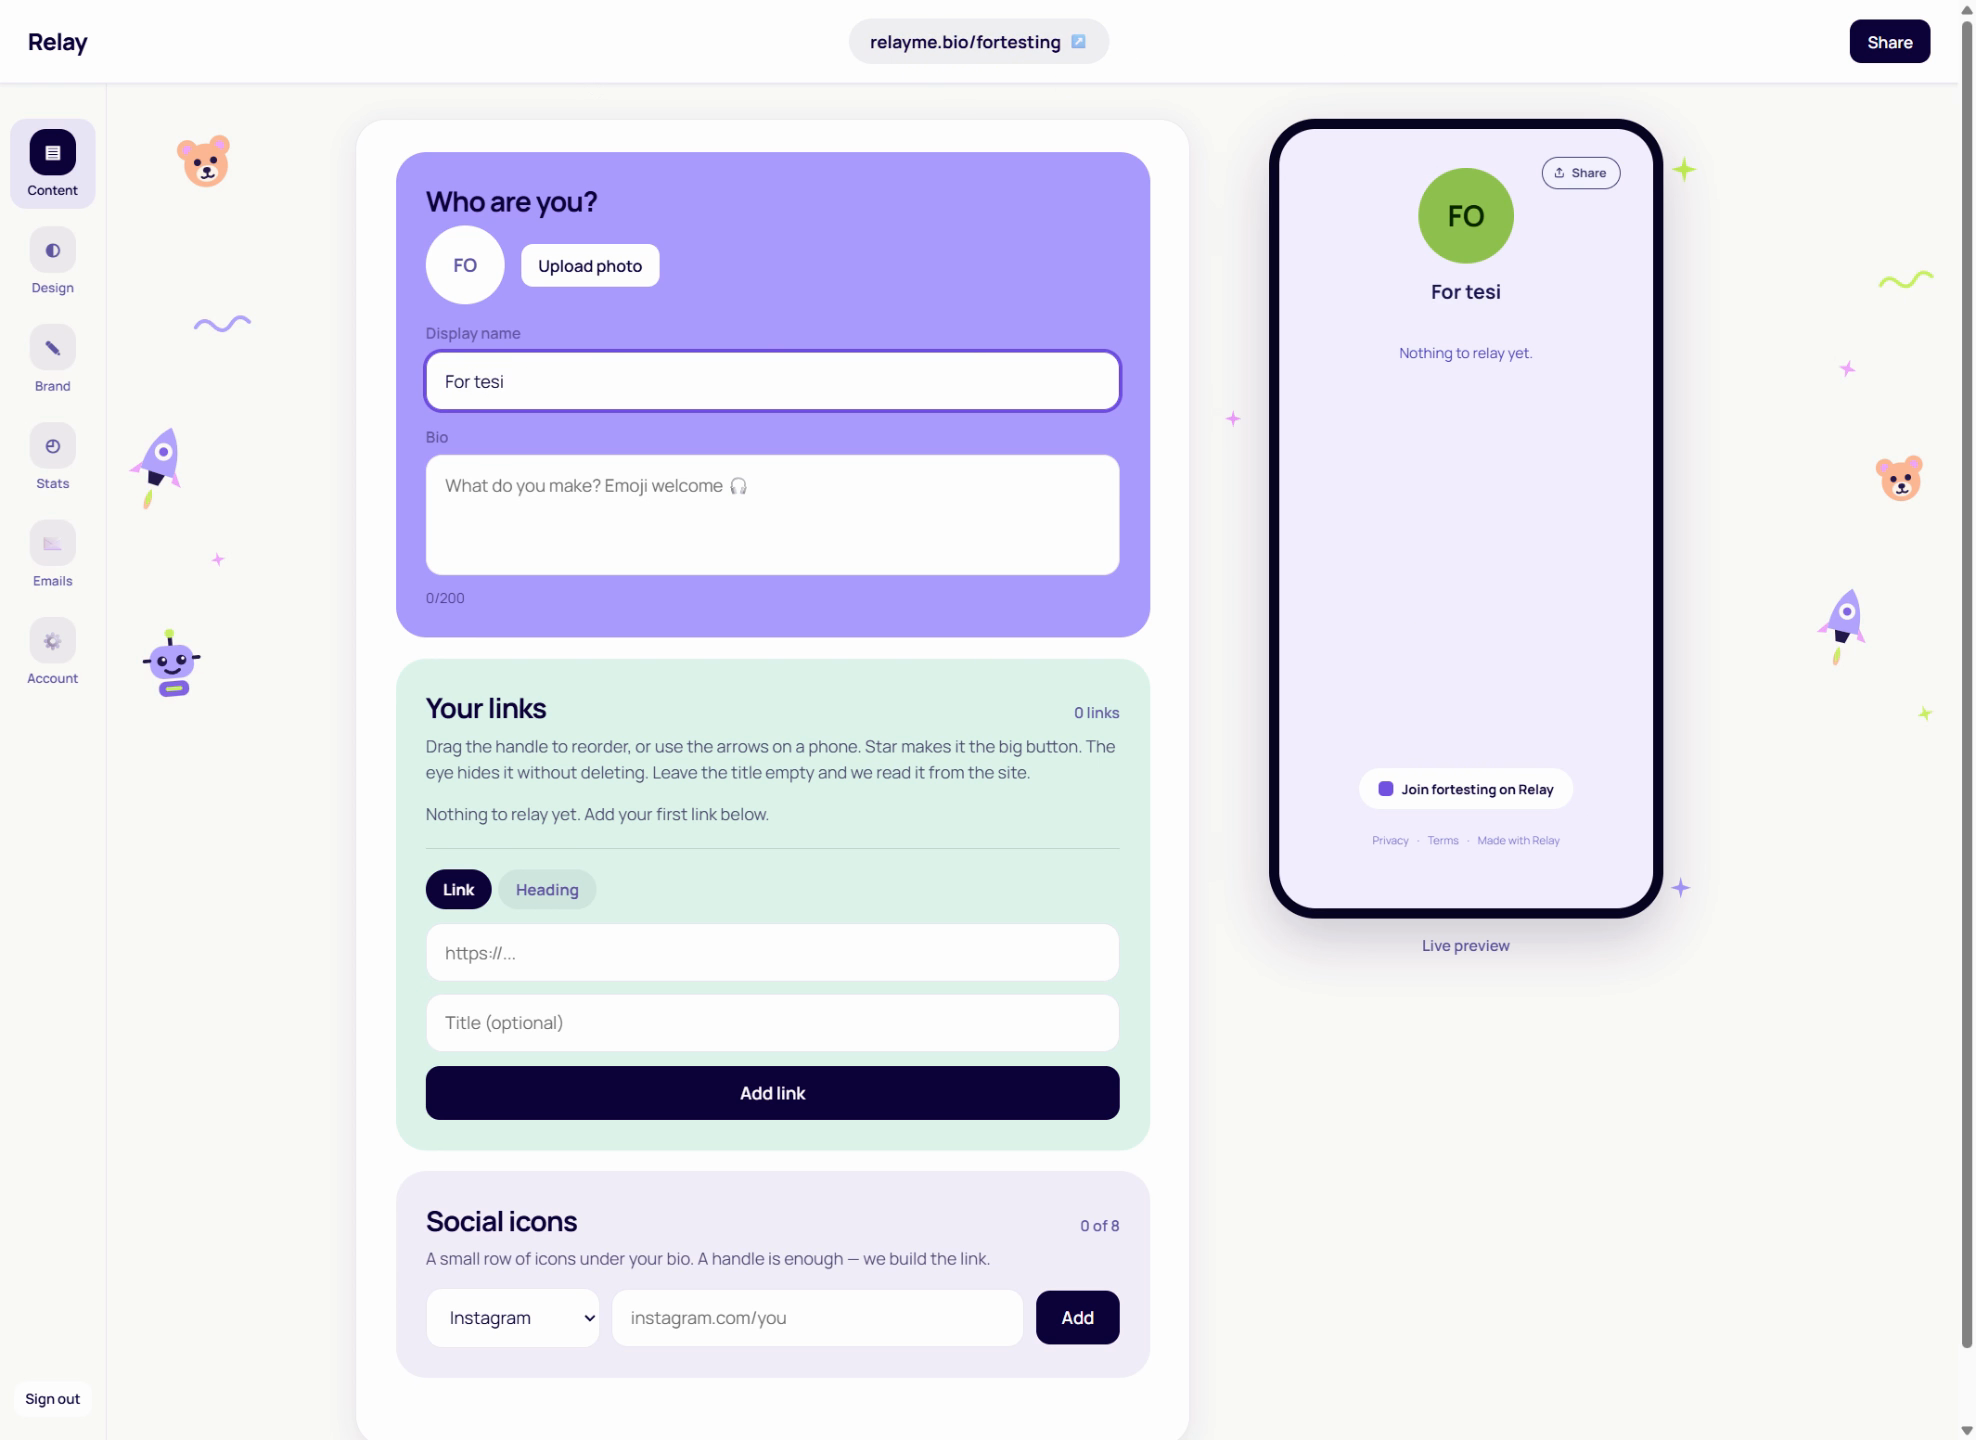
Step 7: Add your first links
Paste any address — a track, a shop, a profile, a ticket page — and RelayMe fetches the title and icon for you. Rename anything that comes back wrong, and leave the title blank if you'd rather use whatever the site calls itself.
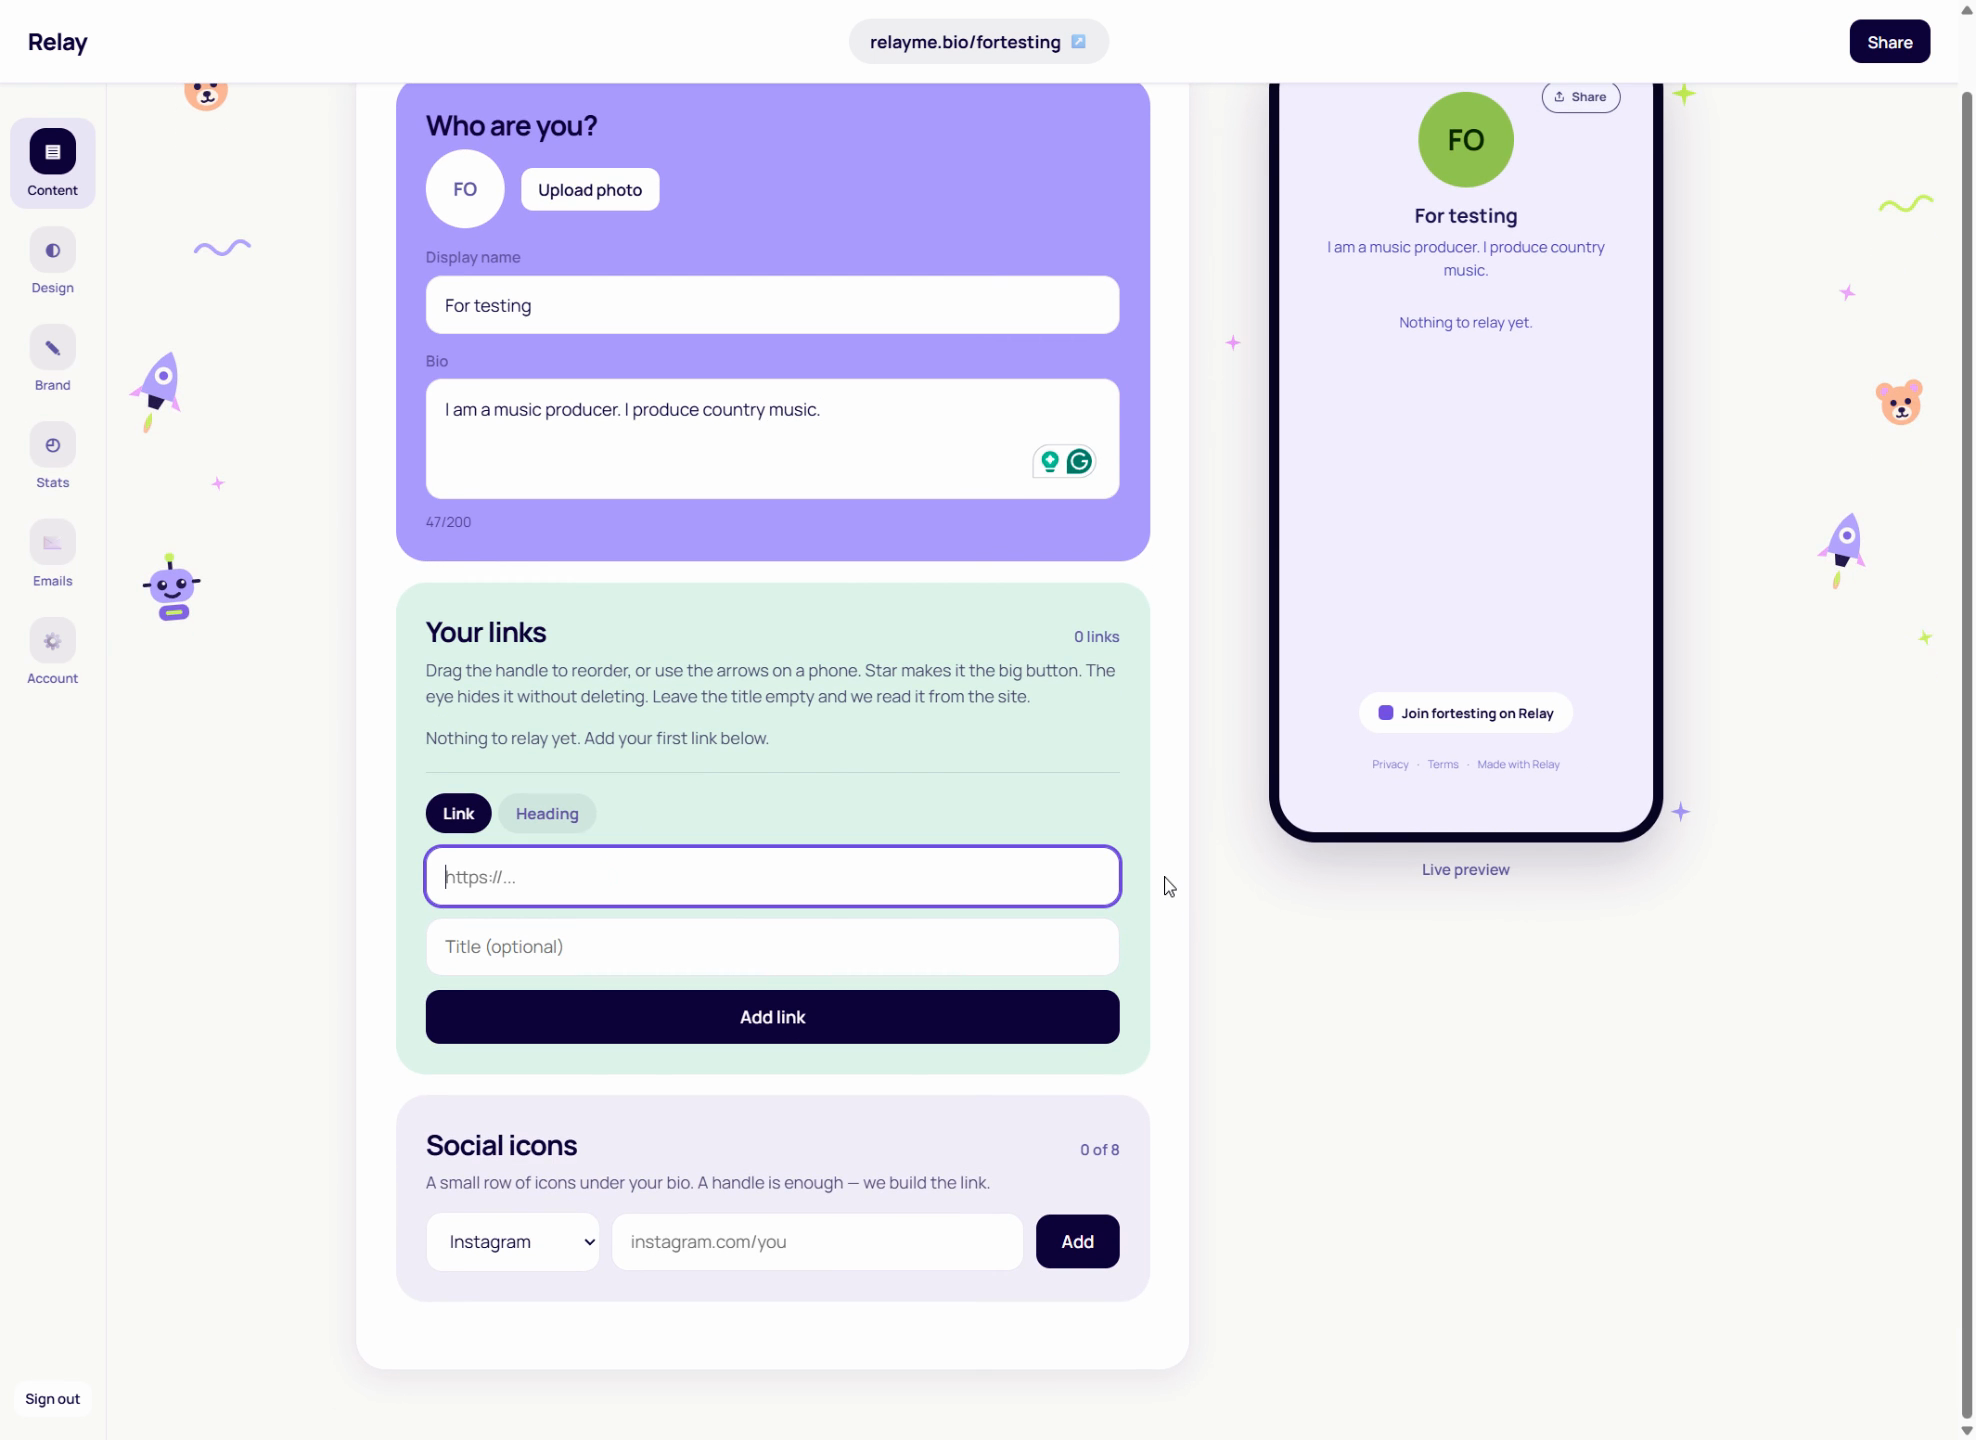
Step 8: Put them in order
Drag the handle to reorder, or use the arrows on a phone. The star turns a link into the big button at the top. The eye hides one without deleting it, which is useful for something you'll want back later.
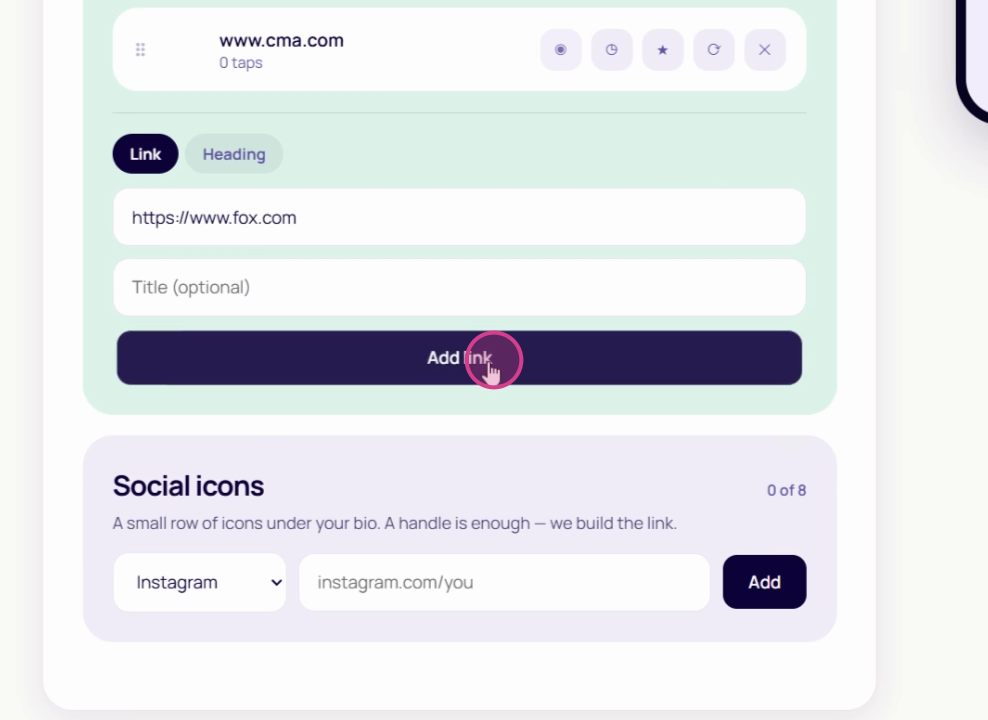
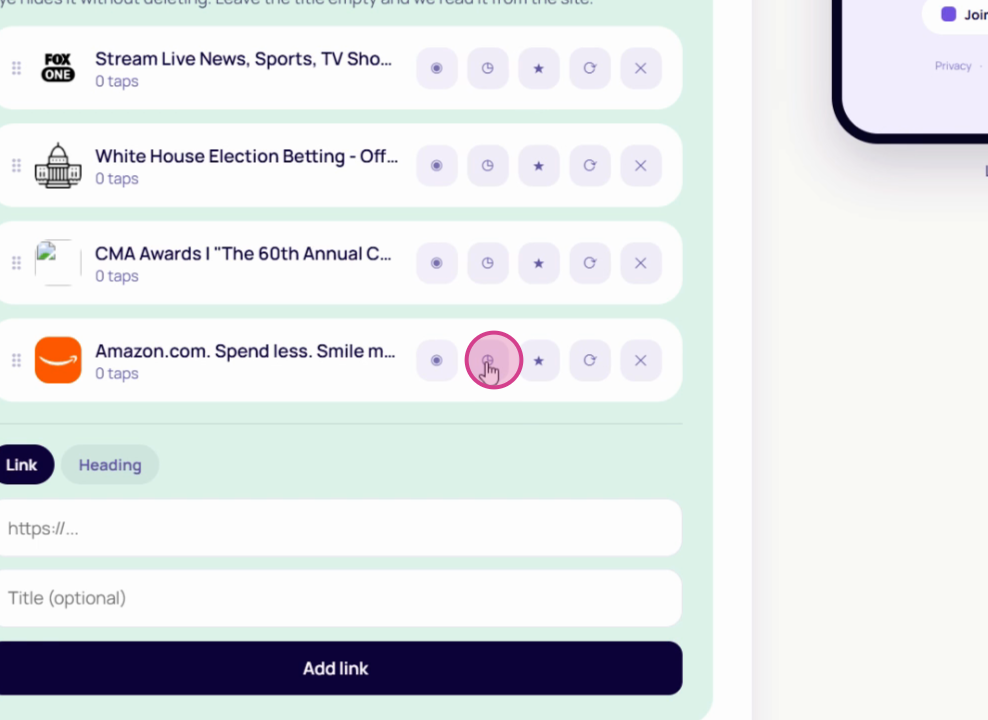
Step 9: Schedule a link to appear later (Pro)
Set a date and the link shows up on its own — no logging in at midnight for a release. Set an end date too and it disappears again when the moment has passed.
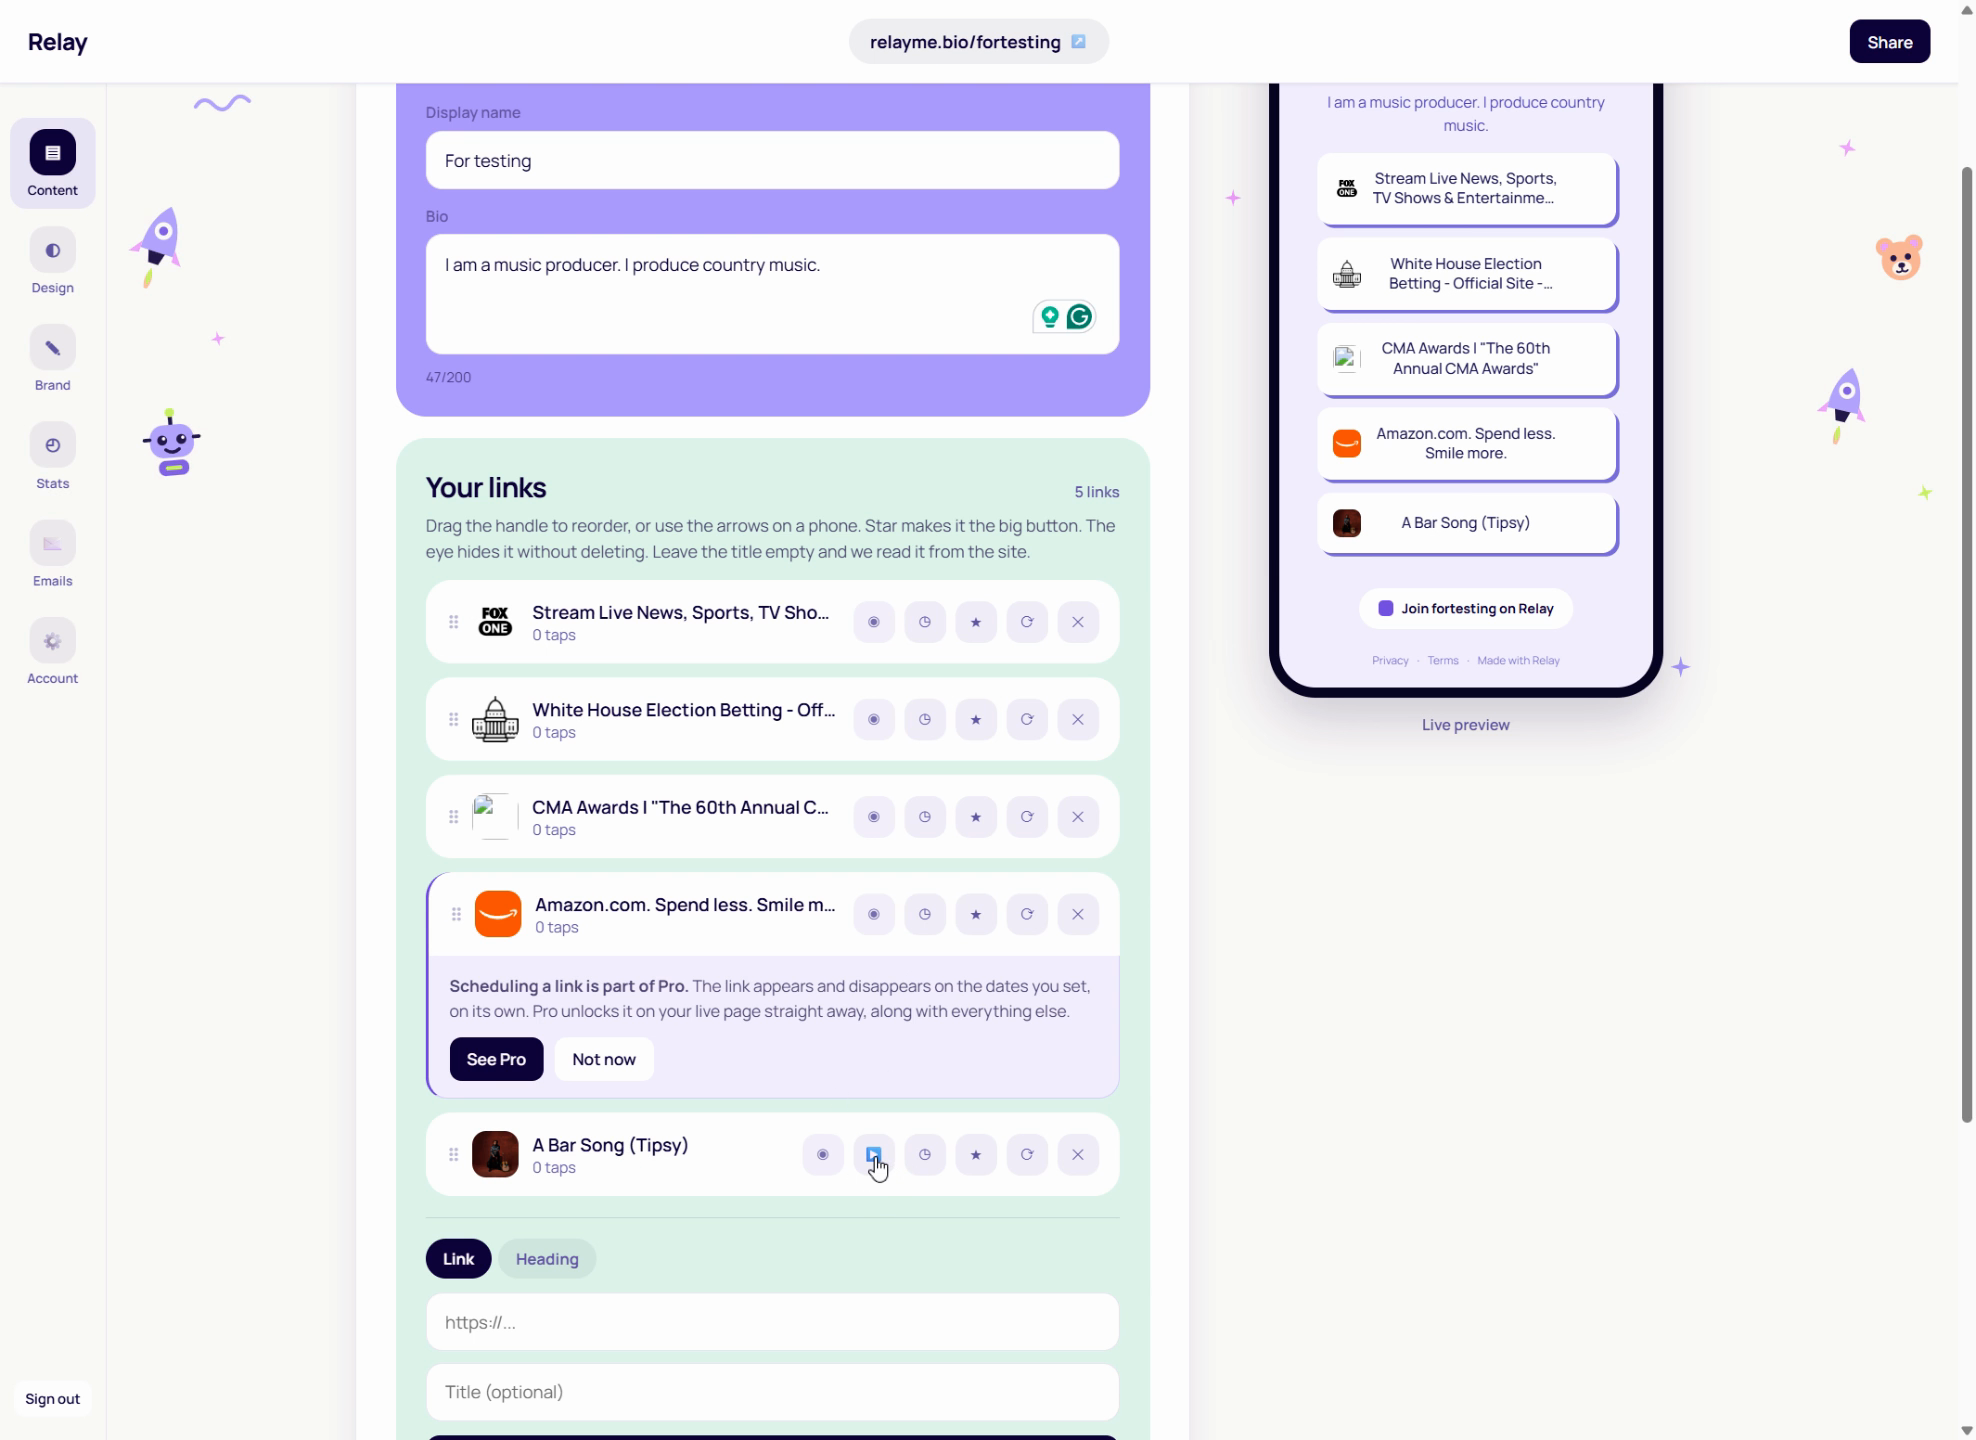
Step 10: Play music and video on the page (Pro)
Turn a link into a player and visitors listen or watch without leaving. It's the difference between sending someone away and keeping them.
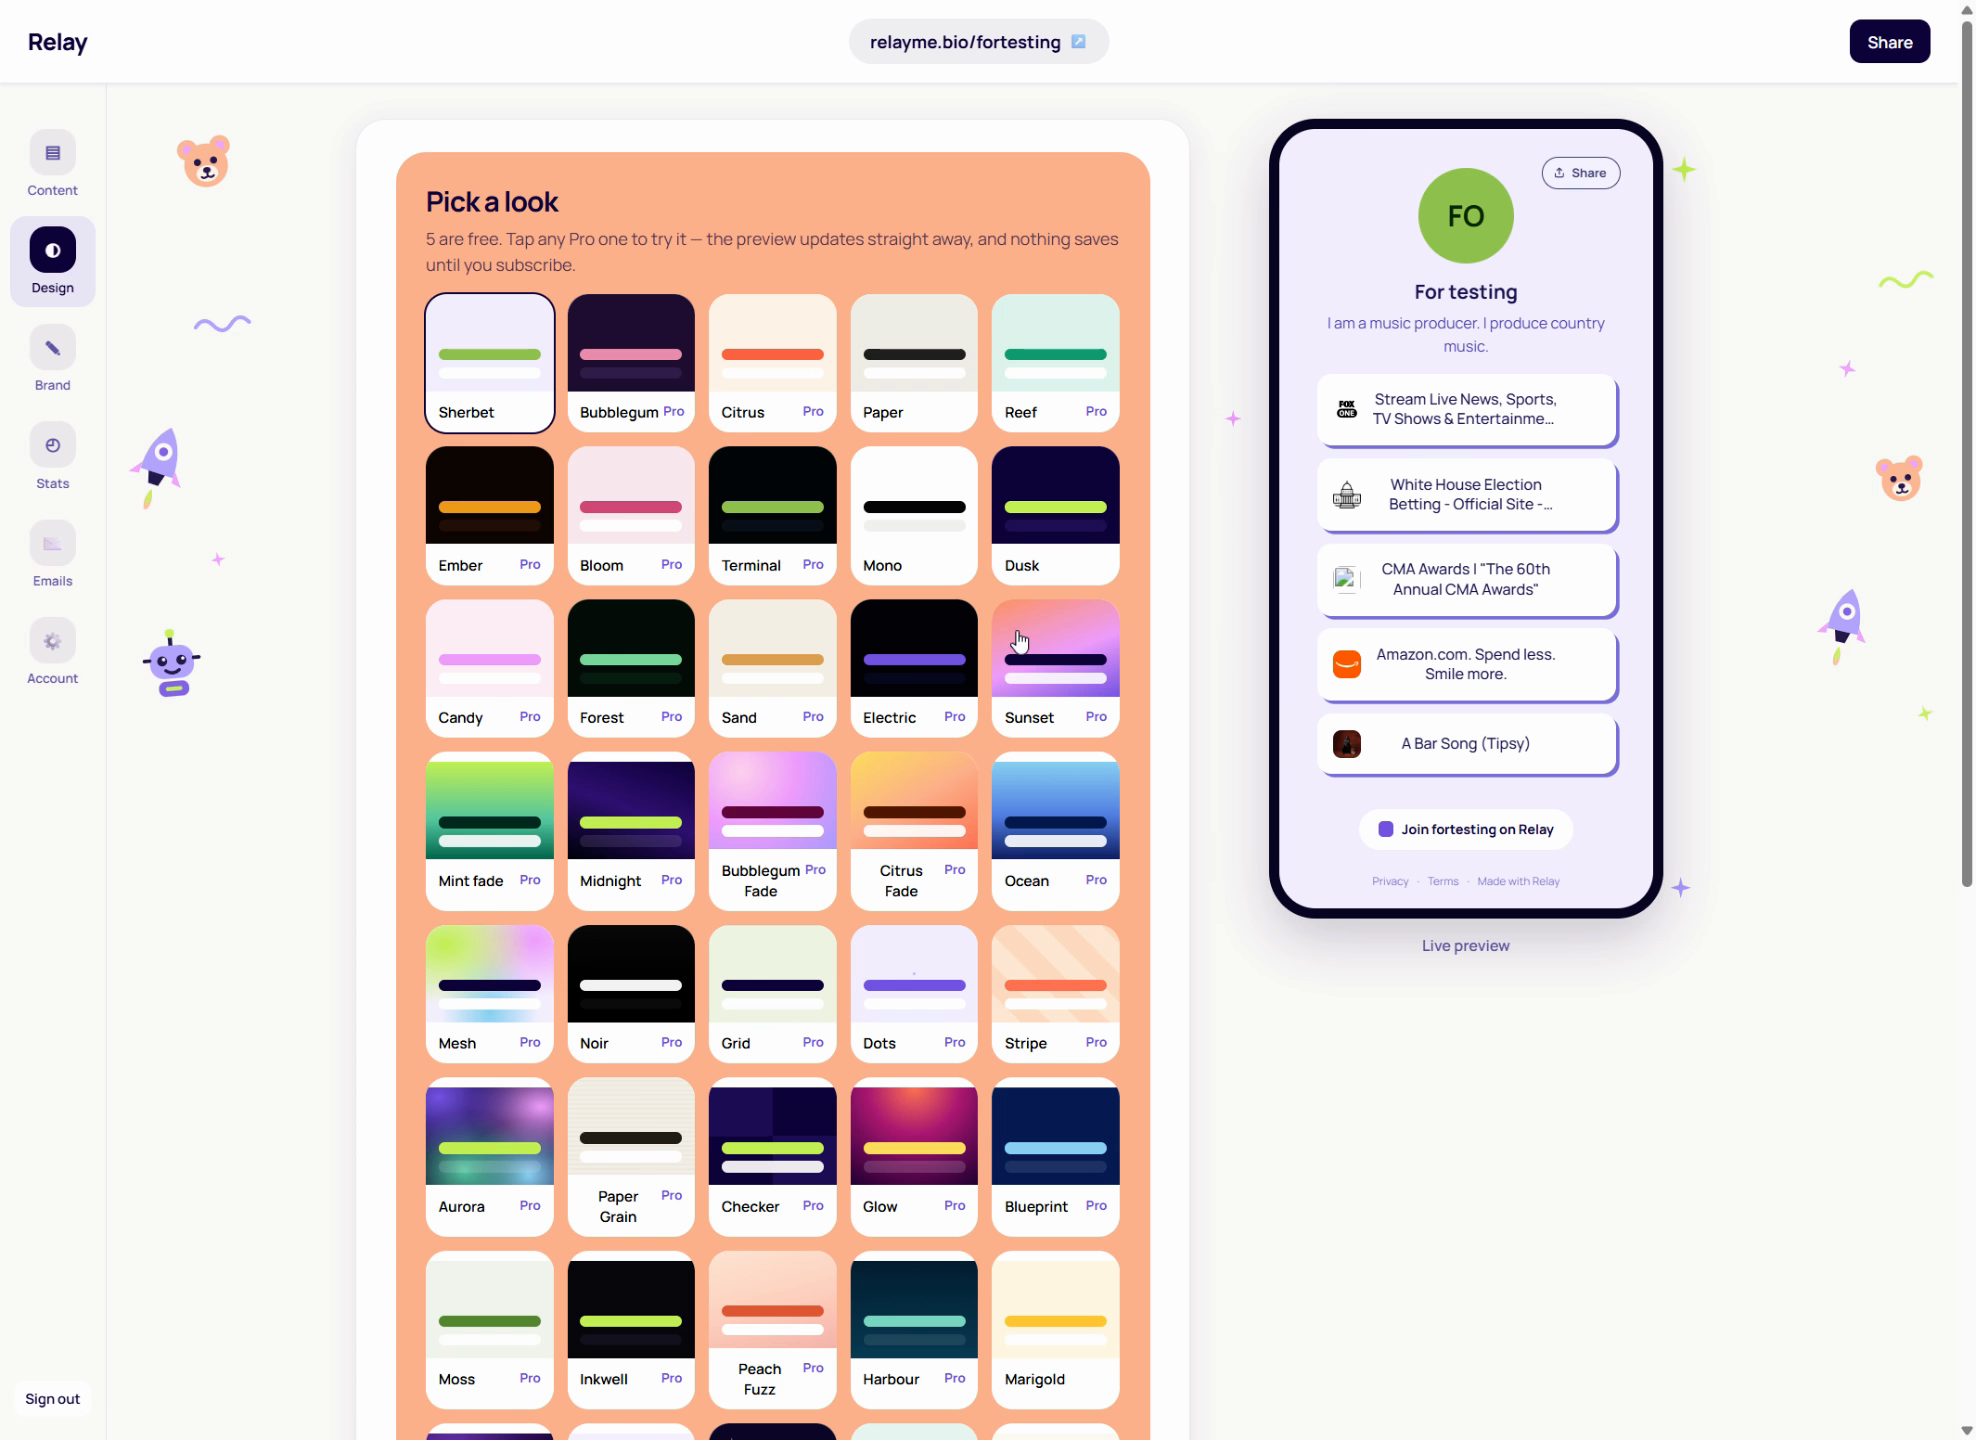
Step 11: Choose a look
There are themes and backgrounds for every mood, several of them free. Pro adds the rest, plus your own background image.
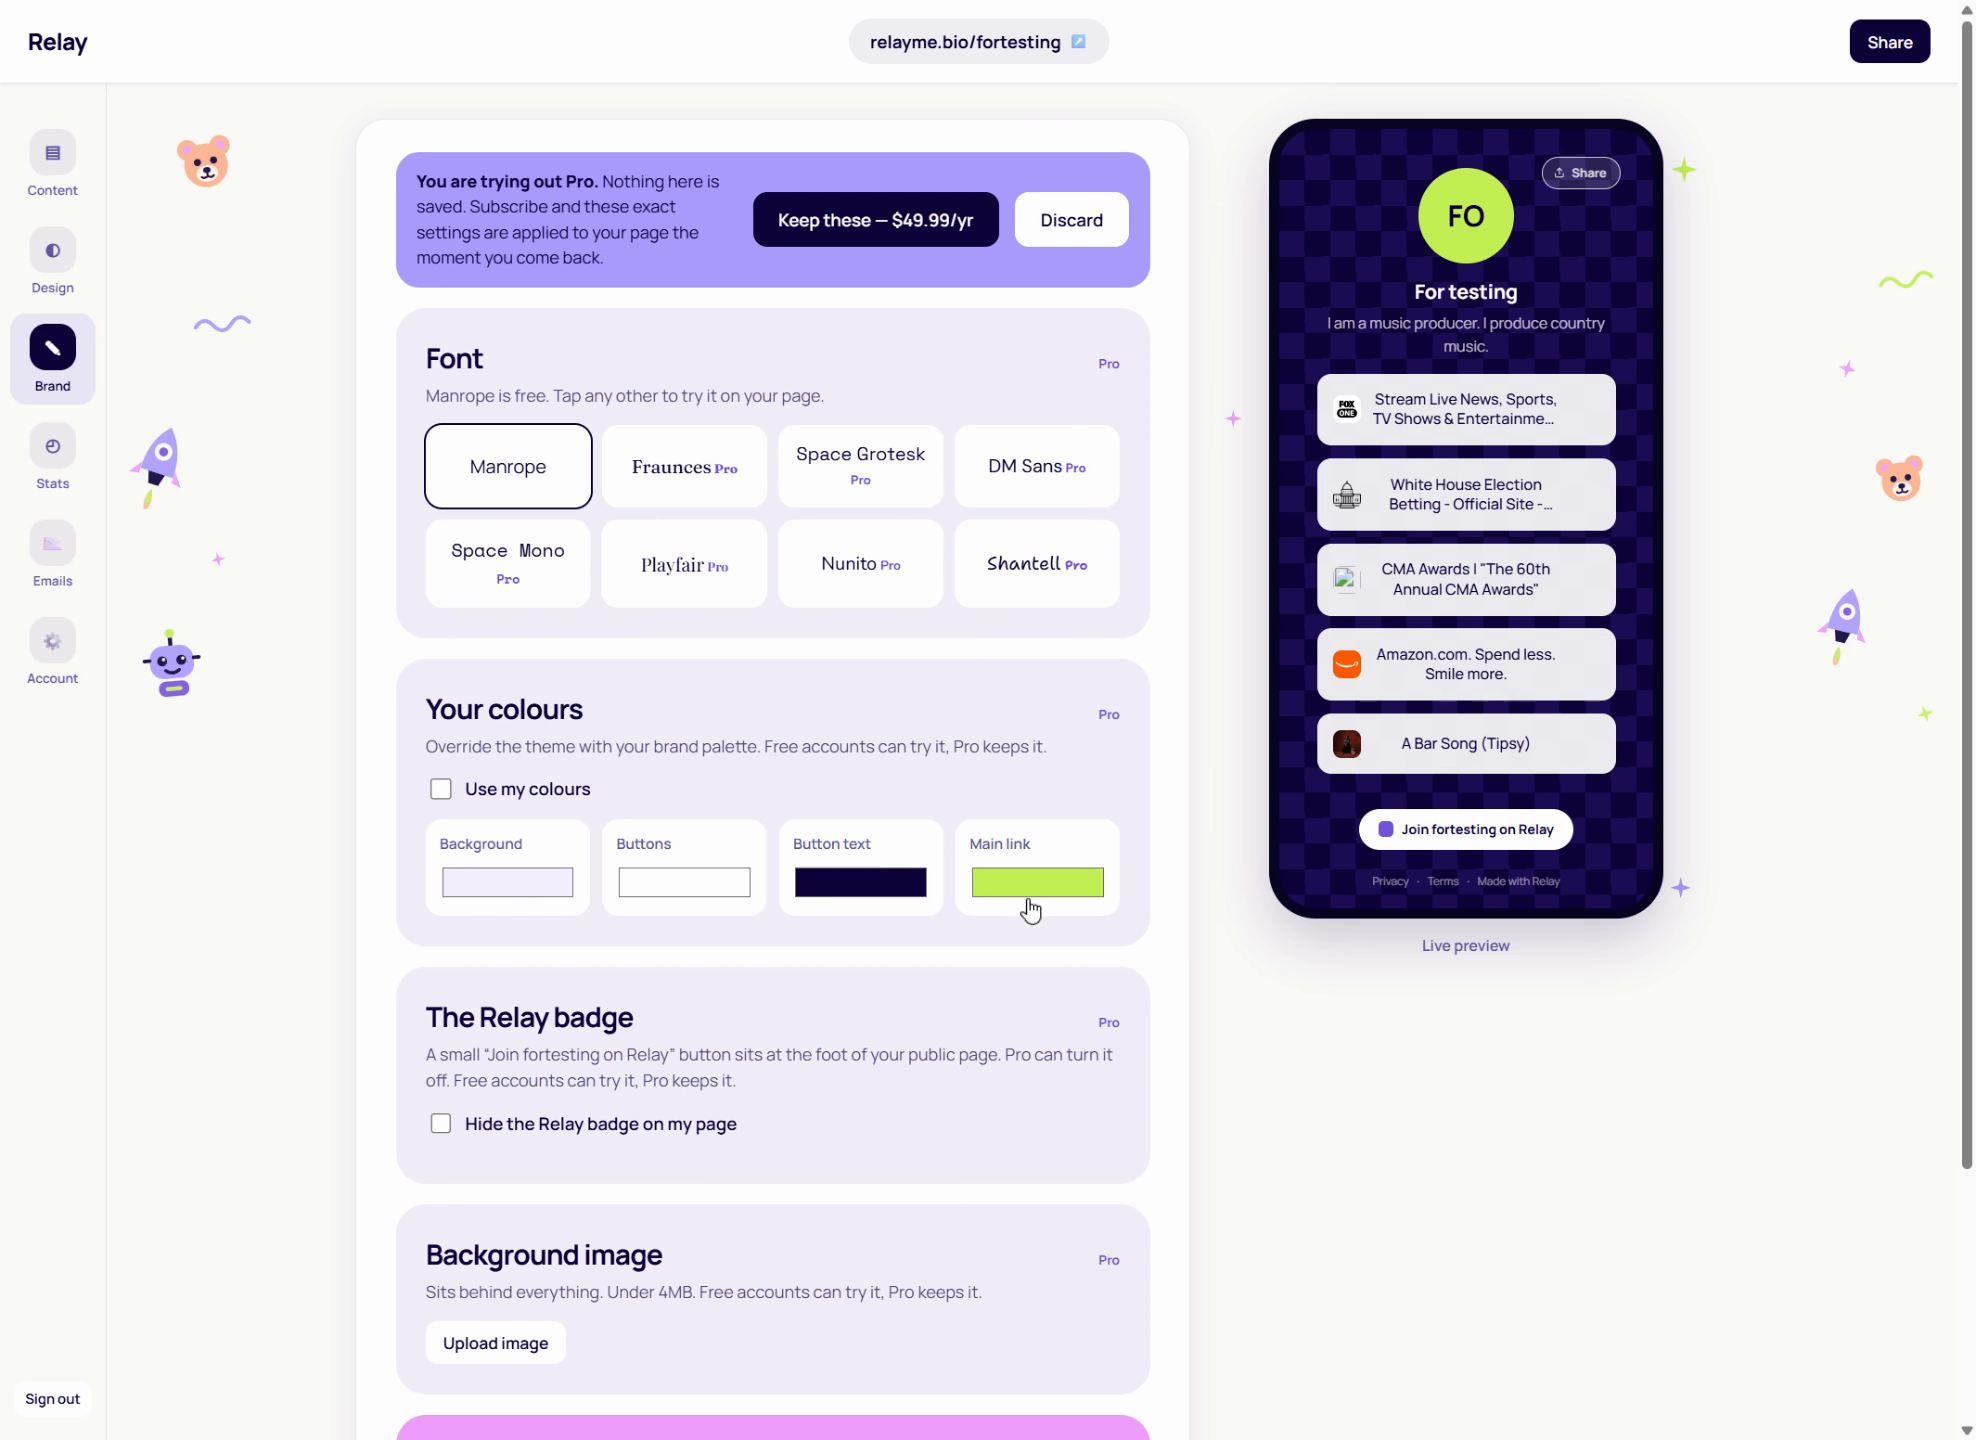
Step 12: Adjust the colours
If none of the themes is quite right, set your own colours or drop in a background image until the page looks like you.
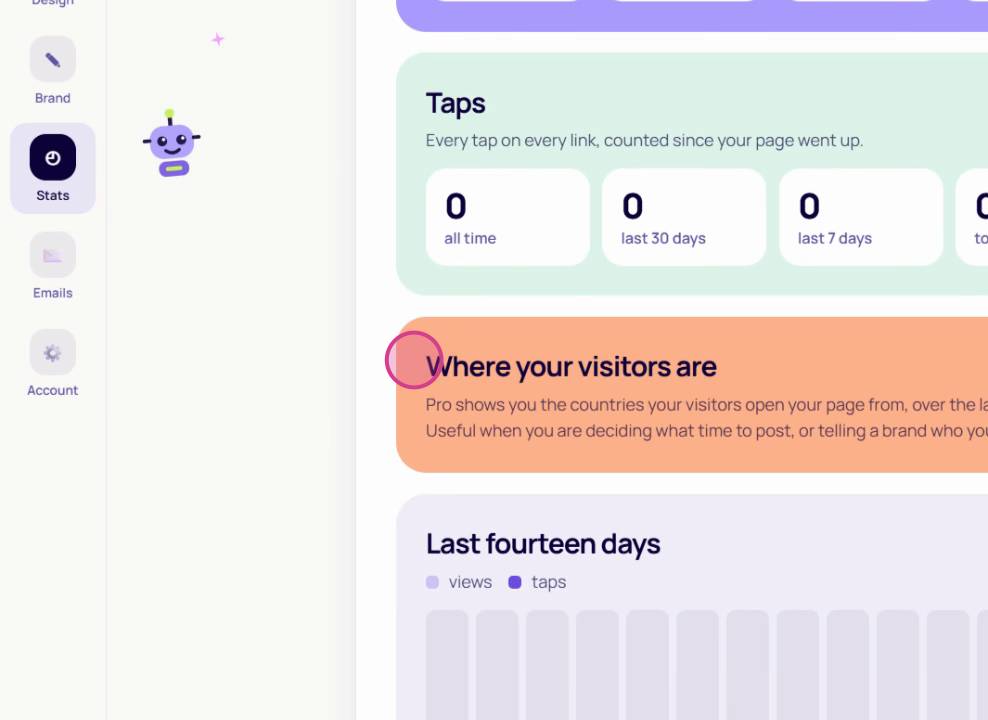
Step 13: See what's working
Views, clicks, where visitors came from, and what they were using. Mostly it tells you which links deserve to move up.
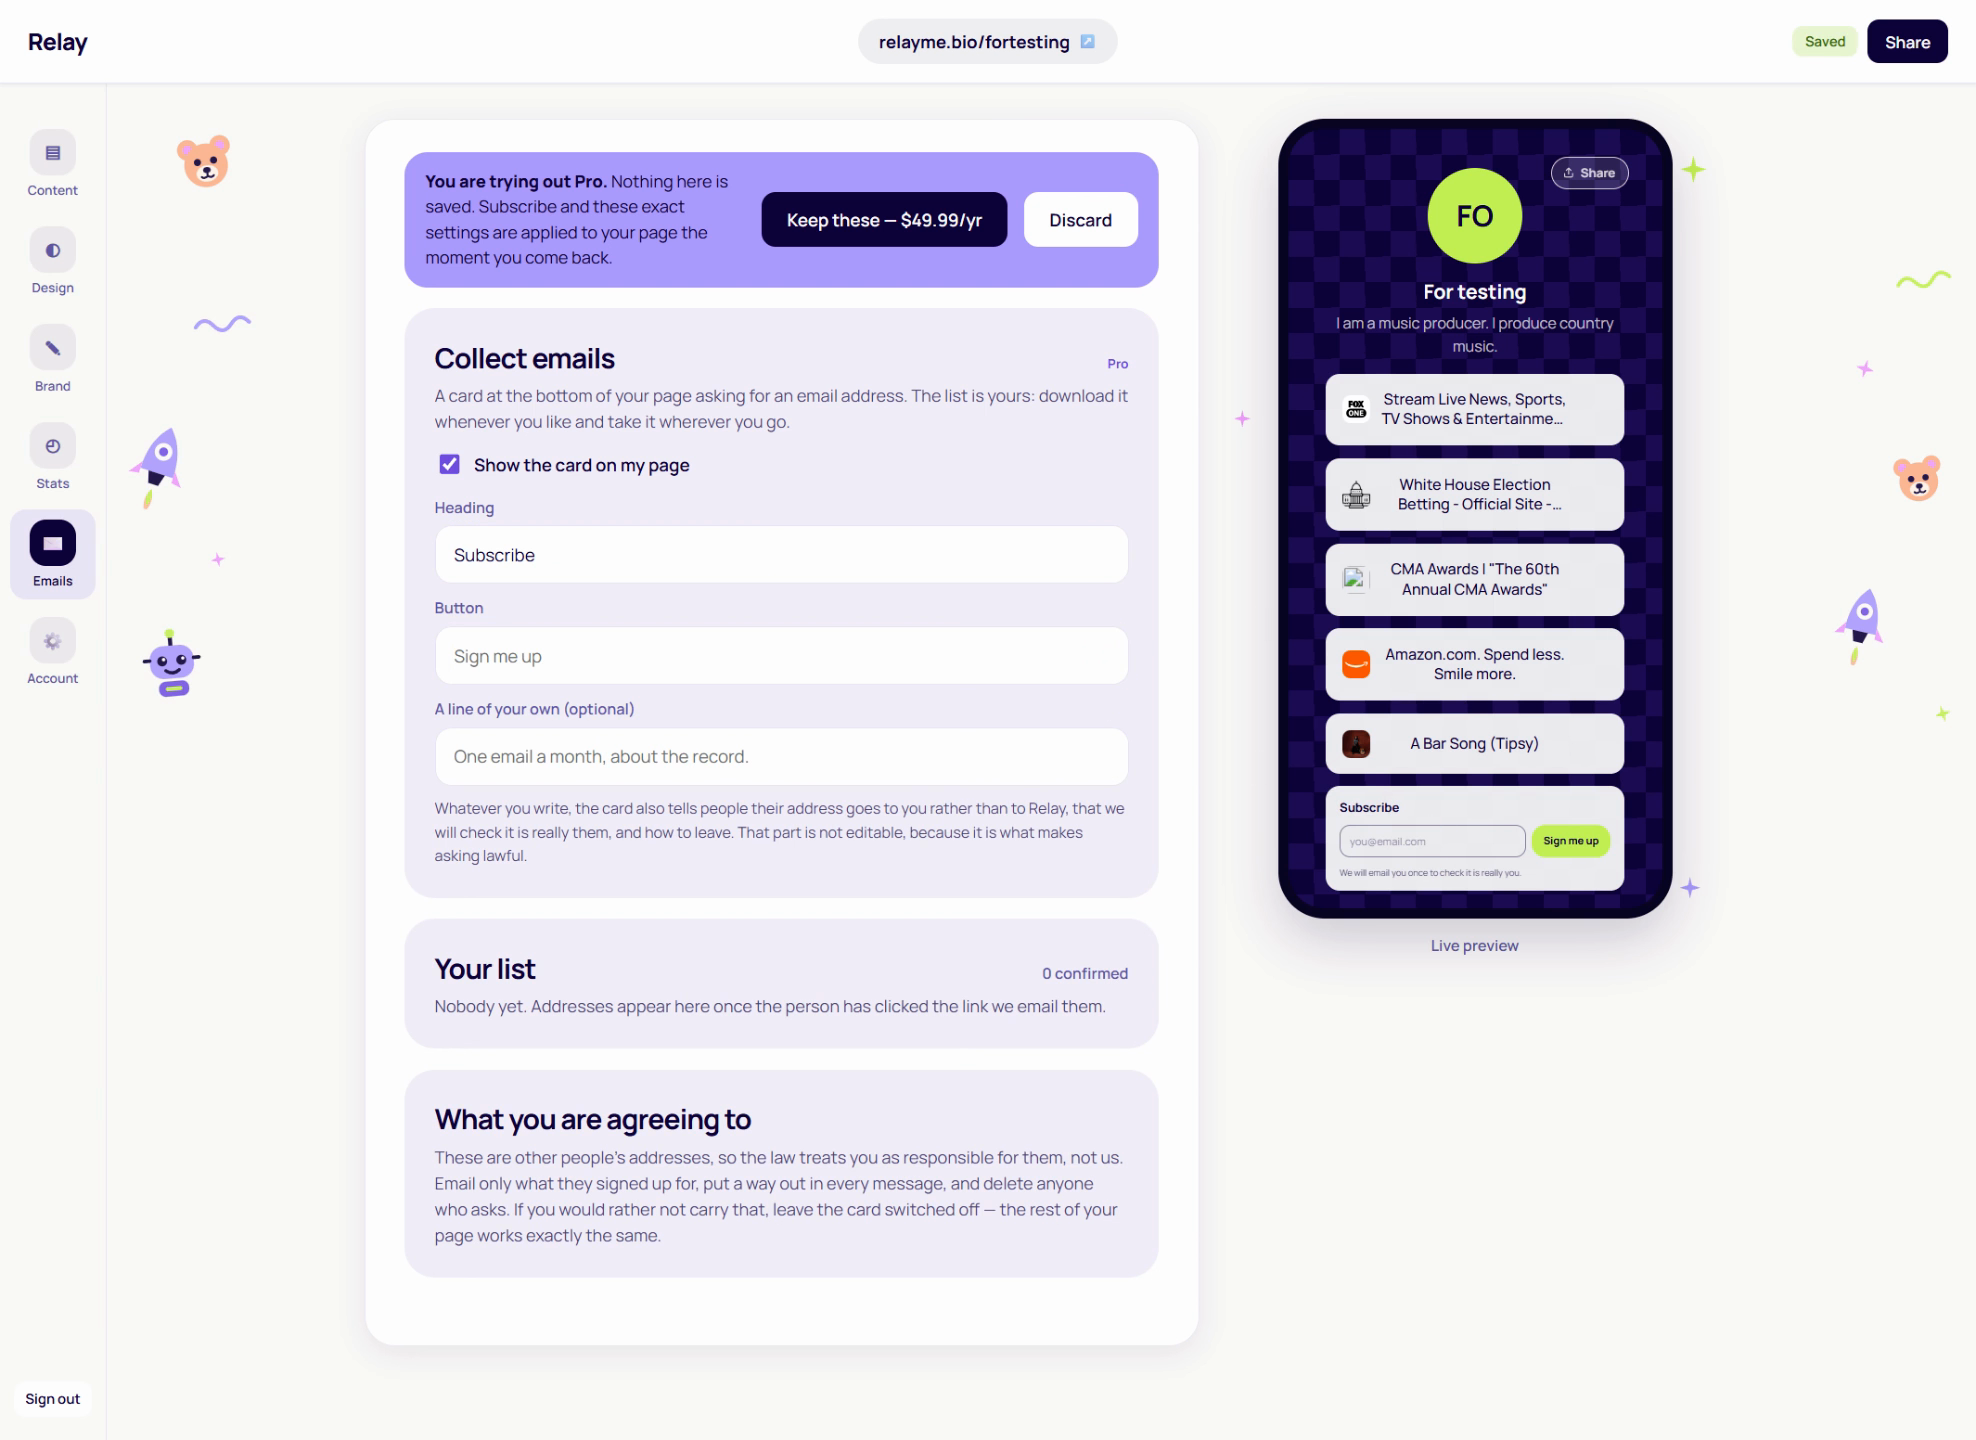
Step 14: Collect email addresses (Pro)
Add a subscribe box and visitors can join your list from the page. Addresses go to you and nobody else — RelayMe doesn't market to them.
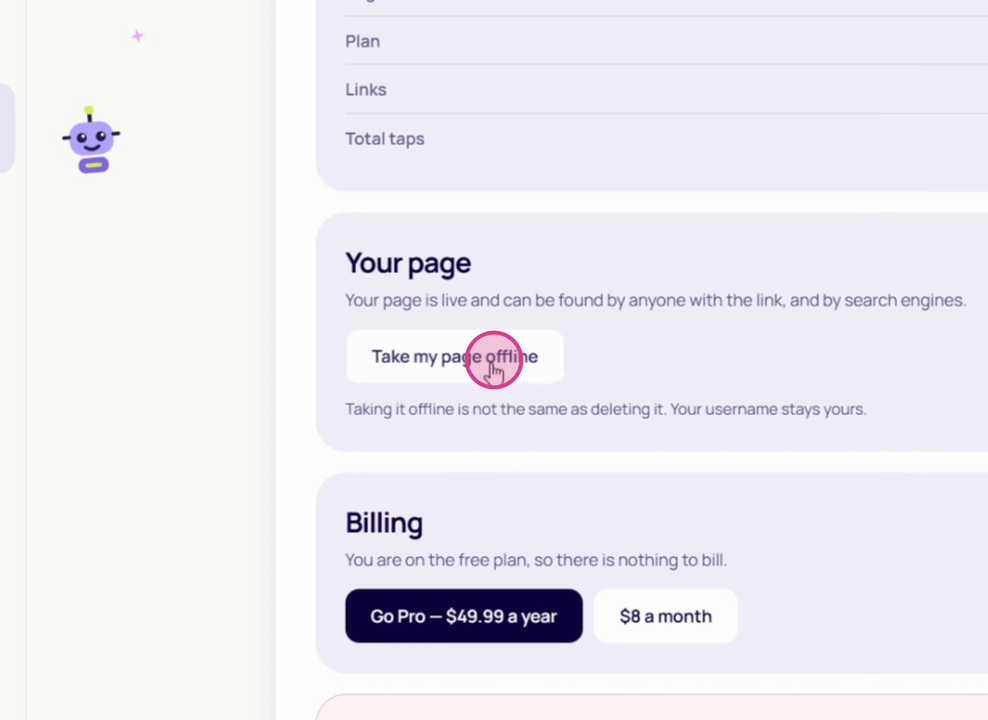
Step 15: Your account, your call
Take the page offline for a while, or close the account entirely. Both live in the account section, and neither is buried.
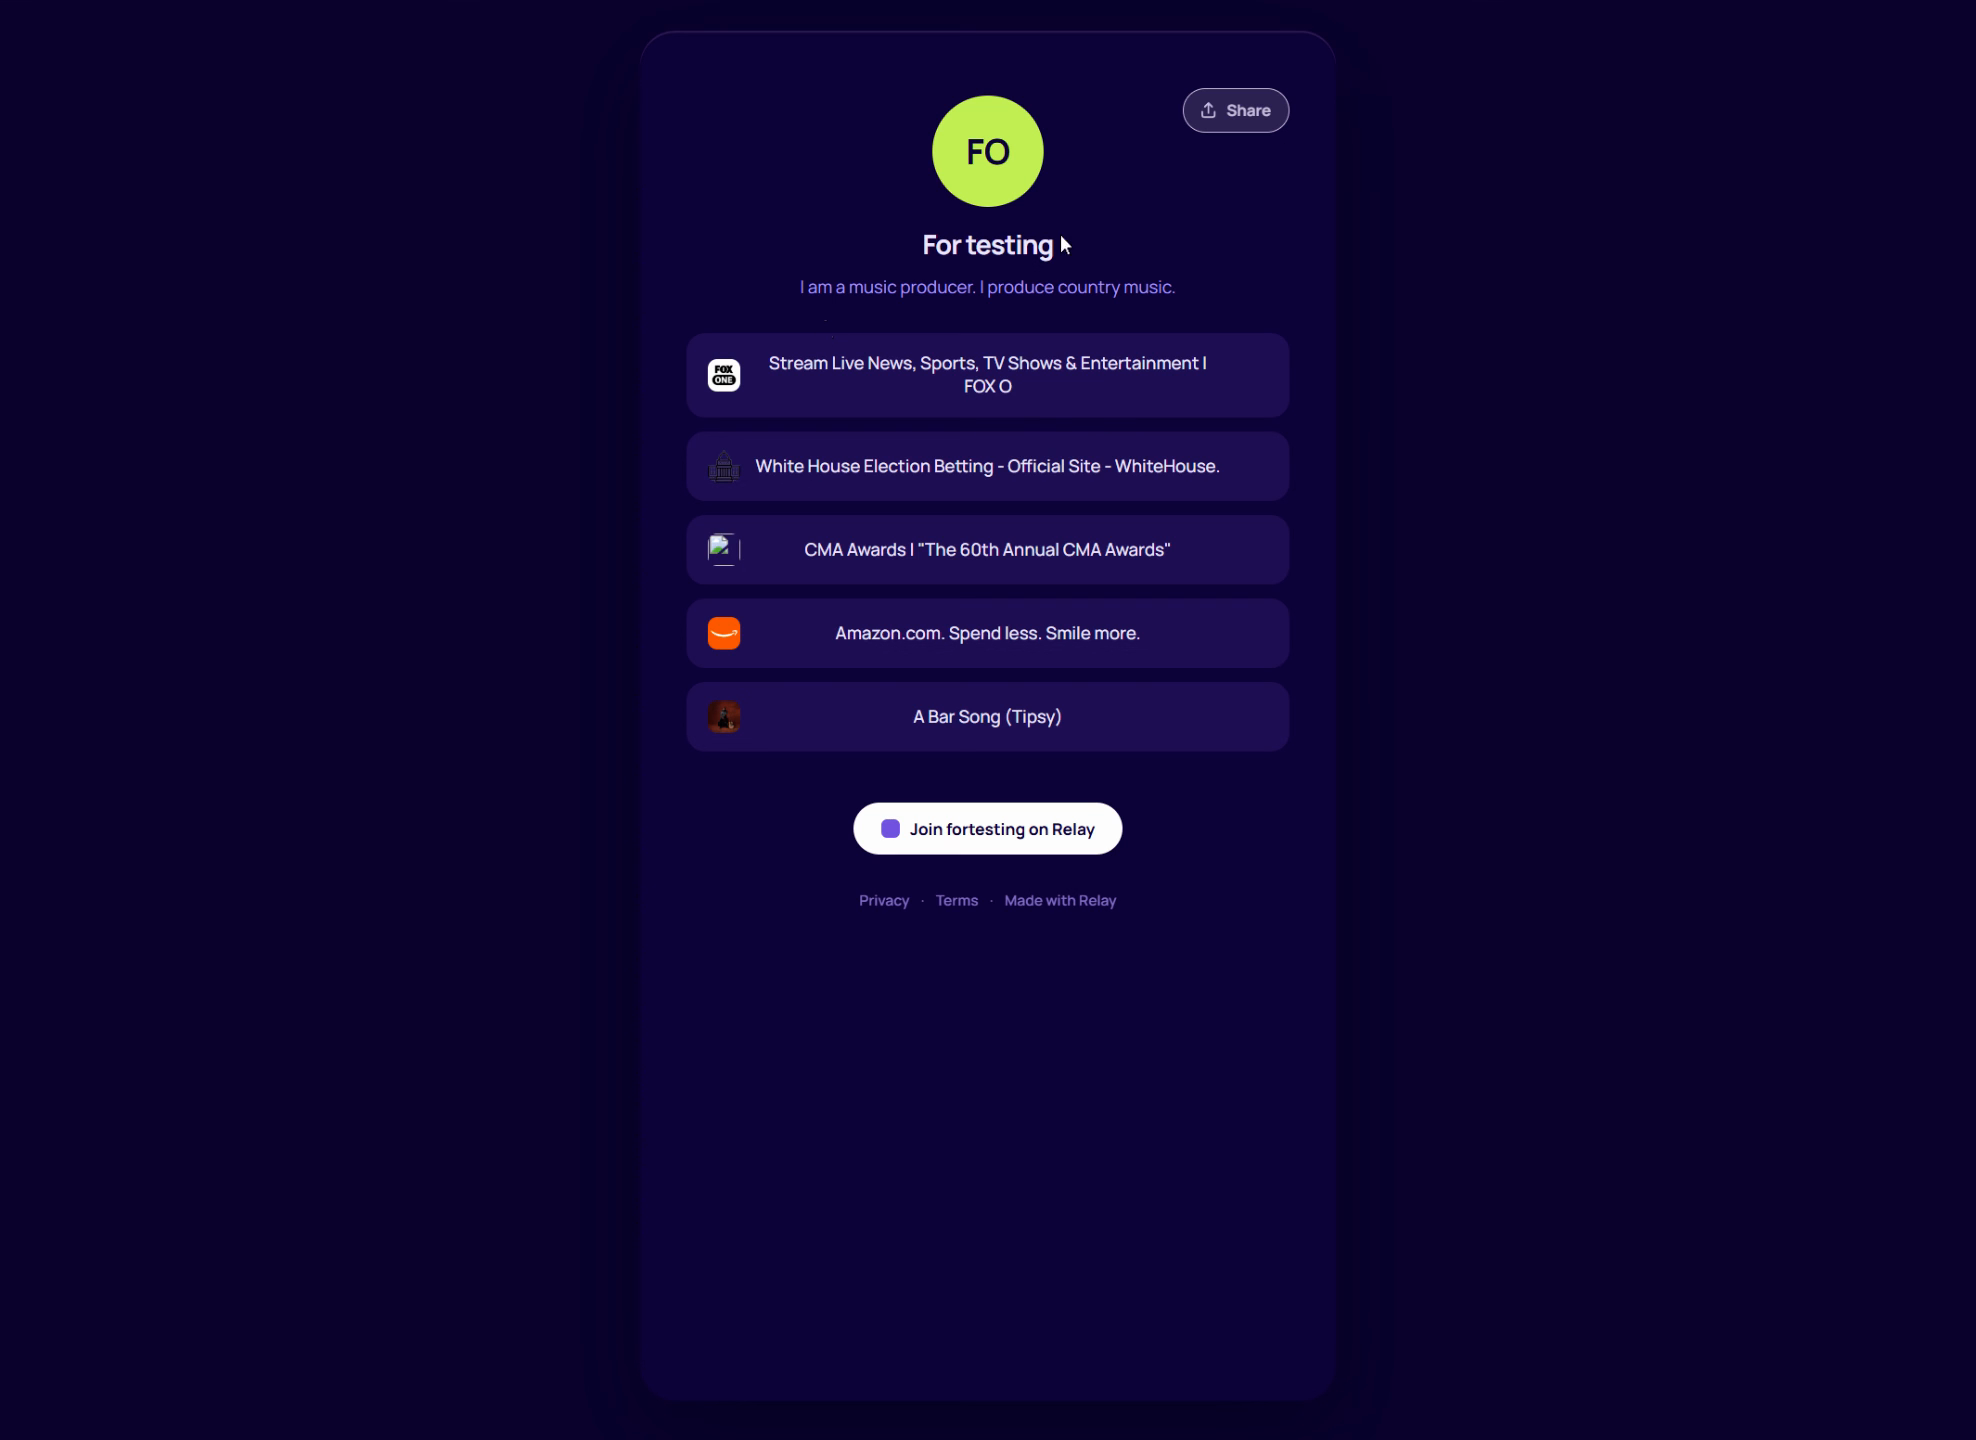
Step 16: Preview, then share
Check the finished page, try it against a few themes, then share it. On a phone that opens the usual share sheet, so it goes straight into a bio field wherever you need it.
Step 17: Remove the RelayMe badge (Pro)
Pro takes the small "Made with RelayMe" mark off the bottom, leaving the page entirely yours.
That's the whole thing. The page is live from the moment you claim the name, and everything after that is adjustable — new links, a different look, a launch scheduled for next month.